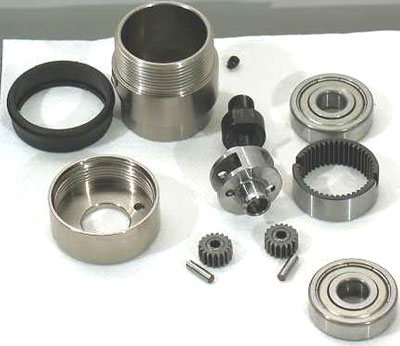
Disassembly:
Use these instructions along with the tool, parts page
or manual.
Step 1
Important: To separate the planetary adapter or gear case from the housing core, view and follow this link:
Disassembly Instructions - 0.4 hp Air Motor - Straight
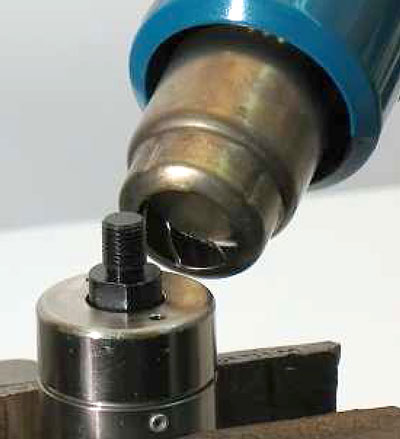
Step 2
Fasten the flats of the planetary adapter or gear case in a vise with aluminum or bronze jaws. Use a Heat Gun to warm the rear exhaust cover, planetary housing or lock nut to soften the thread adhesive. Use the 50971 Lock Ring Tool or adjustable wrench to separate the rear exhaust cover, planetary housing or lock nut from the adapter or gear case.
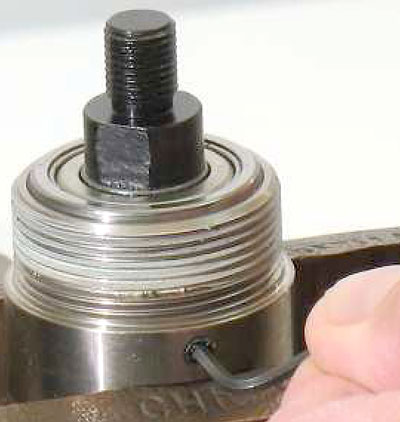
Step 3
Use a 2 mm or 5/64" hex key to remove the set-screw(s).
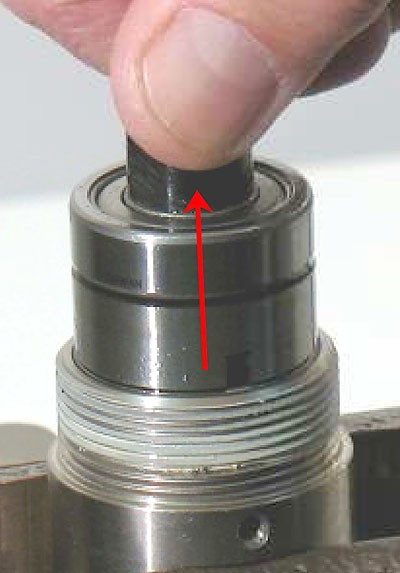
Step 4
Remove the planetary reduction.
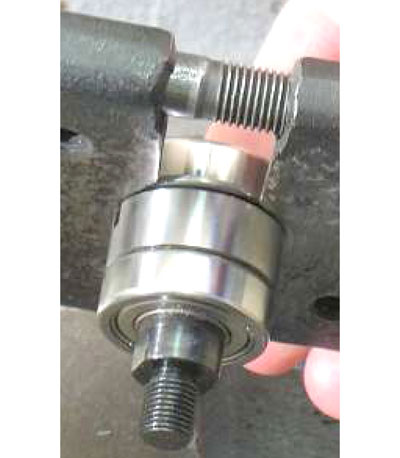
Step 5
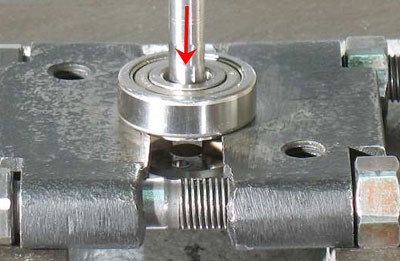
Important: Fasten the 96346 Bearing Separator (2") with the Flat Side facing the Ring Gear and the Beveled Side facing the Rear 54520 Bearing.
Place the bearing separator and the planetary reduction in the 96232 Arbor Press (#2) with the 50782 Adapter or pinion gear pointing down.
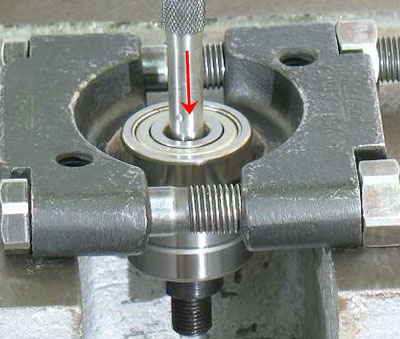
Step 6
Use a 5/16" flat-end drive punch as a press tool to push the planetary carrier out of the 54520 Bearing.
Step 7
Remove the ring gear, shafts and planet gears.
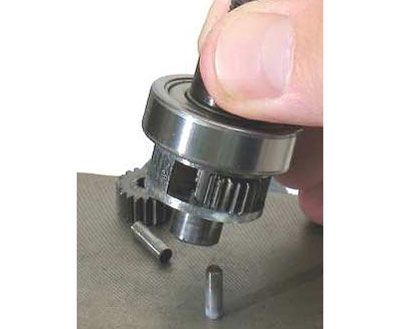
Notice: Gently tap the carrier on a hard surface.
The shafts and gears will fall out of the carrier.
Step 8
Use a Heat Gun to warm the 50782 Adapter or pinion gear to soften the thread adhesive. With the planetary carrier pointing up, carefully fasten the adapter or pinion in the vise with aluminum or bronze jaws. Insert a screwdriver through the carrier and turn counterclockwise to remove the adapter or pinion.
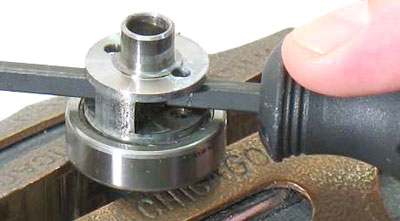
Step 9
Use the arbor press, and a 5/16" flat-end drive punch as a press tool to push the planetary carrier out of the remaining
54520 Bearing.
Disassembly Complete
Clean and inspect parts before assembling.